A Comprehensive Guide to Compressing & Resizing Images for UGC NET Form
It is no secret that in our digital age, filling out online forms has become as easy as pushing a couple of buttons. However, despite its perceived simplicity, many applicants find themselves grappling with how to deal with images when filling such forms. So, if you are getting ready to apply for UGC NET exam, you would need to compress and resize your pictures effectively. In this article we provide an overview about the basics of ensuring that your pictures meet the specifications without any considerable loss of quality.
Understanding the Requirements
Before delving into the nitty gritty’s of image compression and resizing it is important to appreciate what UGC NET in particular requires. This information is usually available on the official UGC NET website or through your application guidelines.
The Typical Image Specifications
- Format: JPEG, PNG
- Size Limit: 20 KB – 50 KB per image on average
- Dimensions: Usually provided in pixels (like 4.5 cm x 3.5 cm)
Note: For accurate guidance always refer to recently issued official instructions.
Why Do We Need To Compress And Resize Images?
When applying for exams like UGC NET you may need to submit passport photographs or scanned documents among other things so here are a few reasons why you should consider resizing and compressing your photos:
- Adherence to Format: The pictures should fit specified sizes and dimensions criteria.
- Faster Uploads: Smaller sizes will help in making the uploads go faster with as less chances of interrupted connections.
- Avoiding Rejection: Submissions not meeting the technical requirements can lead to disqualification.
The Consequences of Ignoring Image Specs
Imagine working on your application for hours and at the end, you are told that it has been rejected because you used large images. This could mean that you will have to postpone your plans or even miss the exam completely!
Tools for Image Compression and Resizing
There are several user-friendly tools at your disposal when it comes to file resizing and compression. Here is an overview of workable options whether you prefer online solutions or downloadable software.
Online Tools
- TinyPNG/TinyJPG: This tool specializes in compressing PNG and JPEG files. It has a simple drag-and-drop interface.
- ILoveIMG: Resizing, cropping, format conversion among others. Offers different customizable options.
- CompressJPEG: Suitable for batch processing multiple images at once. Has a simple user interface which is perfect for quick tasks.
Software Options
- GIMP (GNU Image Manipulation Program): Free and open-source tool. Best suited for advanced users who need edit features.
- Adobe Photoshop: Full range of editing options (not free). Great for professional-quality images.
Tip: In case you choose a software option, learn basic information about them so as not to become confused by their complexity.
Step-by-Step Guide to Compressing and Resizing Images
Using Online Tools
- Visit the website of your chosen tool (e.g., TinyPNG).
- Upload your image by dragging and dropping or selecting from your files.
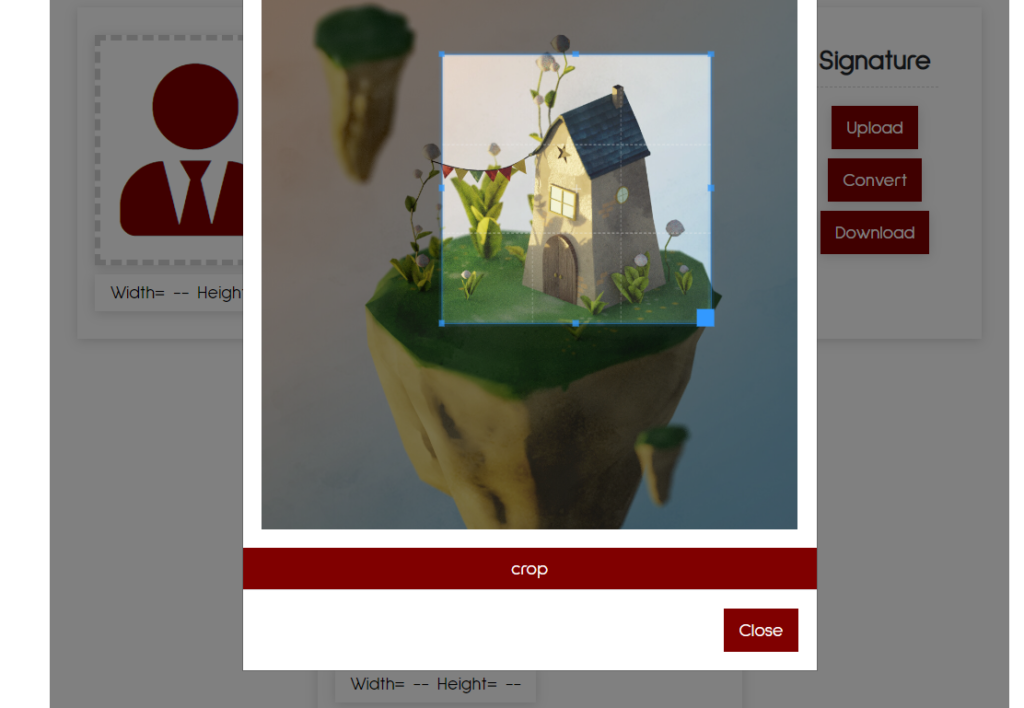
- Compress/Resize the image based on the tool’s options.
- Download the compressed image and save it in an easily accessible folder.
Using Software (GIMP as an Example)
- Open GIMP and import your image: File > Open.
- Resize the image: Go to Image > Scale Image and enter desired dimensions.
- Compress the image: Export as JPEG, adjust quality to reduce file size.
- Save your image: Choose a location that is easy to find later.
Tips for Maintaining Image Quality
Sometimes, compressing or resizing can lead to poor quality images. In order to avoid that here are some tips:
- Choose correct format of images. Typically, JPEG is better for photos while PNG is preferred for text or logo containing images.
- Keep away from high compression; clearness usually lies around 70-80% quality setting range in relation to size of the file.
- You need to preview your pictures before submitting them finally so as not be disappointed by how they appear afterwards.
Conclusion
In conclusion, it’s not hard at all when you want to manage sized photos for UGC NET application.
Efficiently compress and resize your images to their required specifications by understanding what is needed and using the appropriate tools. Always check through your final products as even a little attention to detail can make a huge difference in terms of the success of your application.
Takeaway: Prepare ahead of time and familiarize yourself with these tools so that when it comes to making a submission, the process will be smooth!
Please share in comments if you have any tips or helpful tools you use for image preparing. Good luck applying, and all the best for your UGC NET examination!


