How to Compress and Resize Images for Your NEET Form: A Step-by-Step Guide
When getting ready for the National Eligibility cum Entrance Test (NEET), students have a lot of things they need to make sure are correct. Ensuring that your document submissions, especially images, are up to the set standards can be confusing. In case you do not know how best you can reduce image sizes and resize them for your NEET application form, you are right here. This guide will present you with elaborate steps, useful hints and helpful tools to enable you submit images of perfect sizes and formats.
Why Image Compression and Resizing is Important?
Before we go into the details of resizing and compressing images, it is important to appreciate why these processes must be followed. When an applicant sends images whose file sizes exceed limits or which fail to meet the dimensions required, such applications would be declined. There are several reasons why this should be taken seriously.
- File Size Limitations: It is typical for NEET applications to specify given file size limitations (typically 20-200 KB).
- Quality Control: Over compressed ones may result in a decrease in quality of big images.
- Faster Upload: The smaller the files one has, the quicker they will upload them without having to rush on the last day before submission.
Generally, smooth application process is based on proper image handling.
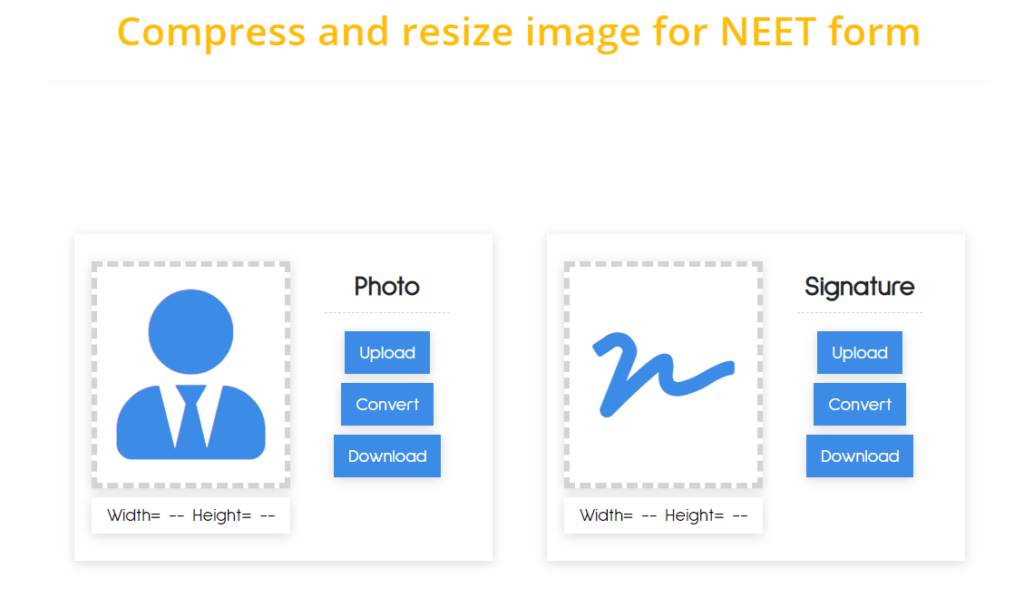
Steps in Compressing and Resizing Images for NEET Form
Step 1: Be Aware of the Requirements
Before you start, it is vital to know what image requirements have been put in place by the NEET authorities. Usually, these may be:
- File format: JPEG, JPG, PNG
- Image dimensions: Normally around 3.5 cm x 4.5 cm (passport-sized photo)
- Maximum file size: Ranging from 20 KB up to 200 KB depending on the requirement.
Tip: Always visit the official NEET website for any updates on the guidelines as they are subject to change.
Step 2: Select Appropriate Software
If you want to compress and resize images there are several tools that can enable you achieve this goal. Here is a couple of trusted examples:
- Online Tools: Websites like TinyPNG, CompressJPEG or Image Resizer allow one to upload pictures and adjust their sizes easily.
- Software Tools: For those who prefer offline options there are a number of software such as GIMP, Adobe Photoshop and even Microsoft Paint which can help in resizing images.
- Mobile Applications: Mobile apps such as Photo Compressor or Resize Me! offer simple methods of reducing picture dimension directly from your smartphone.
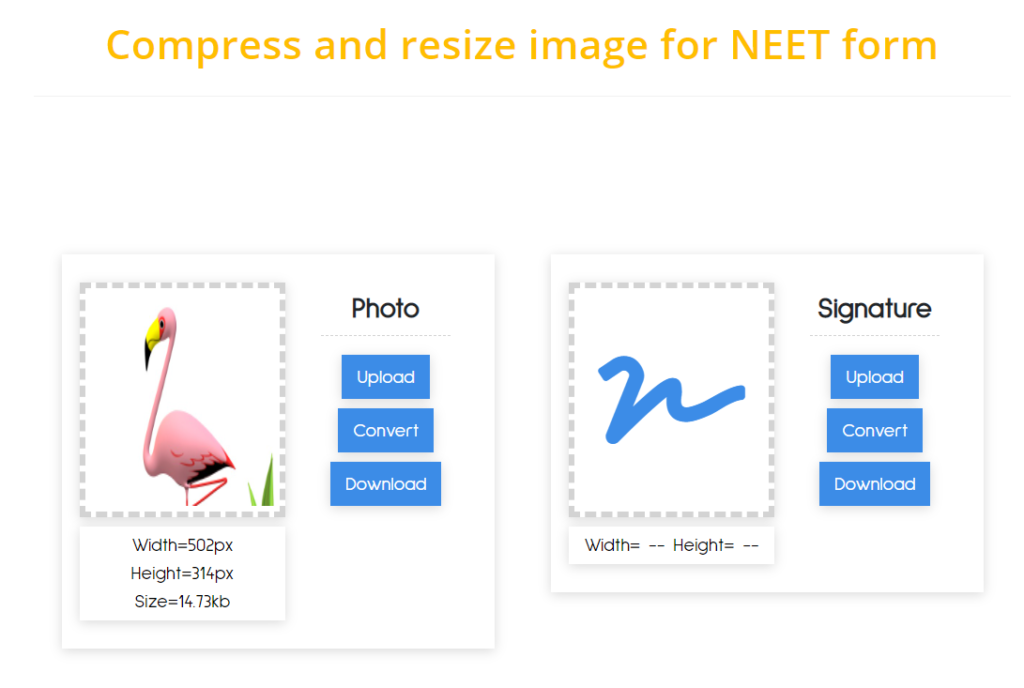
Step 3: Change the size of your picture
What is the simple process of resizing an image using an online tool?
- Starting up the Tool: An instance now being TinyPNG.
- Upload Your Image: You should drag and drop your photo into a specified area.
- Confirm Image Dimensions: Make sure image sizes are net quantities (this data is normally found next to uploaded images).
- Resize (if necessary): In case it’s not fitting in, you could just resize. Click on Edit or Resize, and put in dimensions for NEET.
Step 4: Reducing the File Size of Your Picture
After you have resized your picture correctly, follow this step-by-step guide:
- Use the Compression Feature: While on TinyPNG, your images will automatically compress to as small as possible without any loss of quality.
- Get the Compressed Picture: Download after compression has been done on the reduced file size.
- Check Again: No it was not. Don’t worry if there is some overlap between what we are doing here and section 3 above. We are just checking one more time. All you need to know is that you do not want to have a file larger than three hundred kilobytes. Hence, take a look at how much space it takes up according to file properties which indicate its size.
Step 5: Last Look
Before submitting anything go through these last items:
- Verify That The Format Is Right: (JPG Or PNG Usually).
- Check The Dimensions: We Have To Make Sure It Has The Right Measurements For The NEET Site So Check The Pixels And Sizes As Well Before You Submit It Also It Would Be Best To Open It On A New Tab So You Can See It Clearly And Not Blurred Because Of Zooming In.
Keep in mind: A well-prepared image does not only show how observant you are. It also eases the whole application process for you.
More Suggestions
- Batch Processing: If you have numerous images to resize, consider using tools that allow batch processing to save time.
- Original Copies: For purposes of future editing, always retain original copies of your images.
- Save Formats Carefully: When saving resized images, give it a different name so that you won’t overwrite the original file by mistake.
Conclusion
Although it seems like a simple task to resize and compress images for NEET form, it is actually an important part of the application process. Know what is required and be prepared with the right tools to make things easier on yourself. Make sure your pictures meet certain standards or specifications and before long you’ll be submitting a complete application without any faults.
Not confident about any step? Reach out and ask! Just asking can clear your doubts a lot, whether through forums or classmates who have already gone through some situations similar to yours.
Good luck with your NEET preparation!