

How to Compress and Resize Images for SAT Admission Forms: A Step-by-Step Guide
One can feel overwhelmed when trying to understand the standardized tests, especially because of the necessary documents that have to be prepared. One of the common requirements is submitting a photo that meets particular criteria provided by SAT (Scholastic Assessment Test). It is crucial that you correctly compress and resize your image as it may influence whether the submission process goes smoothly or will be delayed frustratingly. In this guide, we will explore how properly you can compress and resize an image for your SAT application form to make sure it meets all the requirements easily.
Understanding the SAT Image Requirements
To begin with, it is important to get acquainted with some specific photograph guidelines which are specified by College Board-organization that administers SAT before going through this process. Some key requirements your photo must meet include:
Acceptable Image Formats
- JPG (JPEG)
- PNG
Image Size Specifications
- Minimum dimensions: 600 pixels wide by 450 pixels high
- Maximum dimensions: 1200 pixels wide by 1200 pixels high
- File size should not exceed 2 MB.
Important Note: While photos taken on smartphones or digital cameras may fulfill resolution requirements, often times file size and/or dimensions might still need adjustment.
A Step-by-Step Guide on How to Compress and Resize Your Image
Step 1: Choose the Best Appropriate Tool
This is because you will need image editing software to, in turn, resize and compress your image. There are some easy-to-use ones thus;
- Online Tools for Instant use: Canva, TinyPNG and ILoveIMG are some of the websites that offer simple image resizing services as well as compression.
- Software Applications: Adobe Photoshop or GIMP (a free alternative) can also be used to accomplish this task effectively.
Step 2: Open the Image You Want
After selecting your preferred tool, upload or open the image you want to resize. Ensure that your photo meets the initial SAT requirements which include quality and clarity among others.
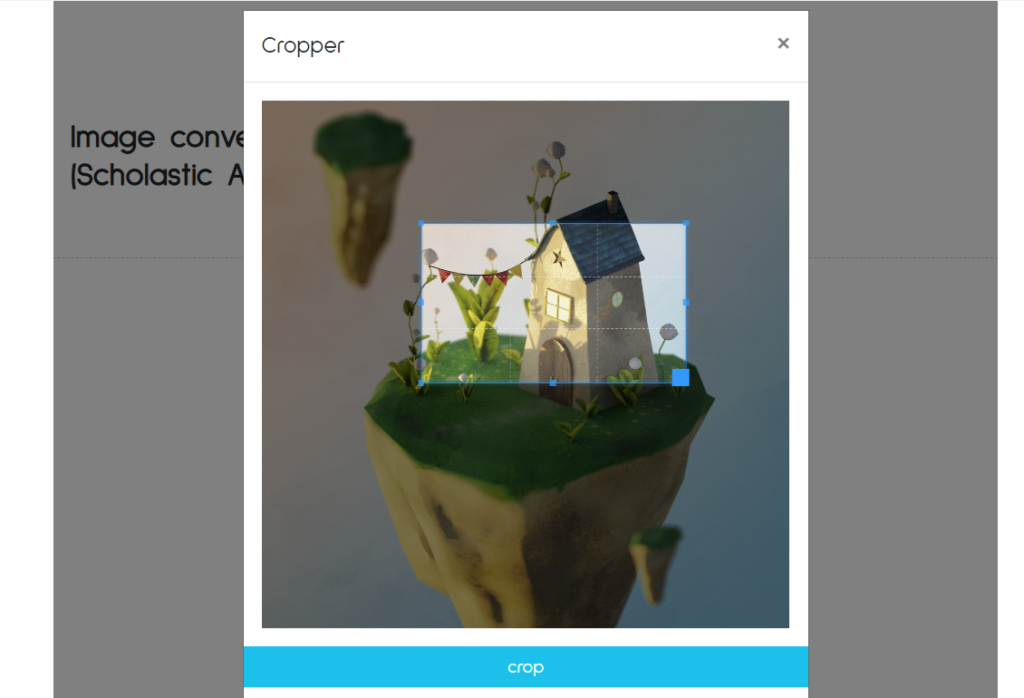
Step 3: Adjusting the Dimensions of a Picture
The next step then comes with adjusting dimensions. In most applications here is how it is done:
For Online Tools:
- Look out for “Resize” or “Edit”.
- Enter desired dimensions (Example, 600×450 pixels).
For Software Applications:
- Open “Image” menu then click on “Image Size”.
- Uncheck “Constrain Proportions” so that individual dimensions may be customized if needed.
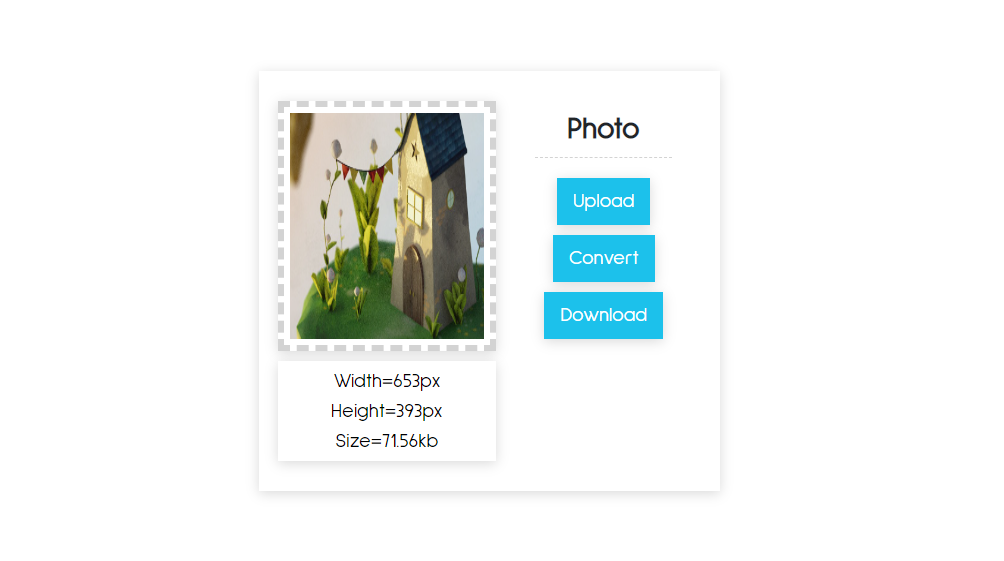
Step 4: Compress an Image in Order to Reduce its File Size
Now that you have resized your image, you have to address its file size like so;
Online Tools:
- Use compression feature provided by tool (often marked “Compress Image”).
Software Applications:
- Choose “File” -> “Export” -> “Save for Web” in Photoshop. This allows you to select JPEG options and dynamically adjust quality to reach a certain final file size.
Step 5: Save Your Image
When you have completed all edits, save the file as:
- Select the right format (JPG or PNG).
- Ensure that the file size does not exceed the SAT form limits.
Problems to Avoid:
Some potential problems that could compromise your SAT photograph are:
- Low-res images: Don’t use any small or pixelated images. Always try to begin with a good starting point.
- Cropping errors: Make sure that there is an unobstructed view of your face without too much background noise in the photo. A simple headshot should be aimed at.
- Disregarding rules: Be sure to double-check the guidelines set out by SAT since failure can lead to delays in processing your application.
In Conclusion: Ready, Set, Submit!
It may seem difficult at first, but actually compressing and resizing your photo for SAT admission form is quite easy if you have all necessary tools and direction on how it should be done properly. Take measures targeted at ensuring that you meet all set College Board requirements for photos.
Get ready with a proper photograph long before test day so as not to stress out at last minutes!
All you need is a well taken photo in the right format and the peace of mind one gets from being ordered, so that your concentration will be on doing well in SAT.
Other tools
1. Article Rewriter
2. Plagiarism Checker