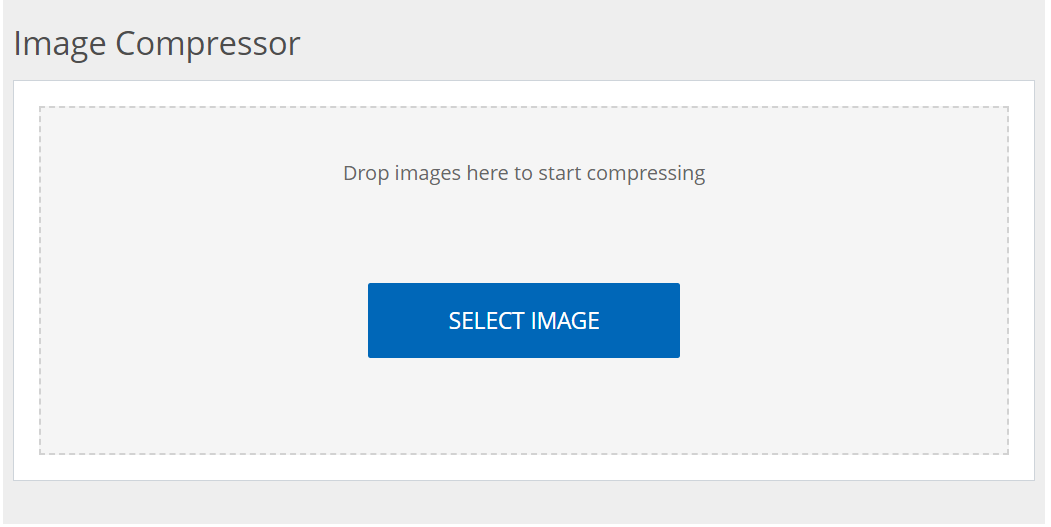
Compressing JPG: A Comprehensive Guide to Optimize Your Visuals
In our visually driven digital world, having high-quality images is essential, whether for personal projects, websites, or social media. However, large image file sizes can slow down website loading times and consume unnecessary storage space. This brings us to the powerful and practical topic of JPG compression. Understanding how to compress JPG images can elevate your image quality while ensuring faster loading times and more efficient storage use.
In this article, we will delve into what JPG compression is, why it’s important, how to compress JPG files effectively, and the tools available to assist you in this process.
What is JPG Compression?
Before we get into the nitty-gritty of compression techniques, let’s clarify what JPG compression entails. JPG, or JPEG (Joint Photographic Experts Group), is a popular image format that uses lossy compression to reduce file sizes. This means that some image quality is sacrificed in exchange for a smaller file size.
Lossy vs. Lossless Compression
- Lossy Compression: This method reduces file size by permanently removing some image data. While the visual difference may not be noticeable, repeated compression can lead to pixelation and quality loss over time. JPG compression is inherently lossy.
- Lossless Compression: In contrast, this type preserves all the original data, allowing for complete recovery of the image quality when the file is opened. Formats like PNG often use lossless compression.
“JPG compression is a balancing act: achieve high quality while keeping file size in check.”
Why Compress JPG Images?
Compressing JPG images should be a fundamental practice for anyone who regularly works with digital visuals. Here are some compelling reasons to consider:
Improved Loading Times
When images are too large, they can slow down your website. Research shows that a one-second delay in page load time can lead to a 7% decrease in conversions. Faster-loading images can lead to a smoother experience for users.
Reduced Storage Costs
For businesses or personal projects involving numerous images, large file sizes can quickly consume storage. Compressing JPG files frees up space, making it easier to manage images without recurring storage costs.
Better SEO Performance
Search engines favor fast-loading websites. By compressing your images, you may improve your site’s SEO ranking, which can drive more traffic to your site.
Enhanced User Experience
A faster website provides a more enjoyable user experience, encouraging visitors to stay longer and explore further.
How to Compress JPG Files Effectively
Compressing JPG files is not as complex as it might seem. Here’s a step-by-step guide to help you through the process.
1. Assess Your Needs
Before you start compressing, determine your image quality needs. Do you require high-resolution images for print, or will lower resolutions suffice for web use? Knowing this will help you decide the level of compression you’re comfortable with.
2. Choose a Compression Tool
There are numerous tools available, both online and offline. Here are a few popular options:
- Online Tools:
- TinyJPG – A user-friendly interface that enables you to drag and drop images for efficient compression.
- Compressor.io – Provides both lossy and lossless compression options.
- Offline Tools:
- Adobe Photoshop – Using the “Save for Web” feature, you can optimize images for the web.
- GIMP – A free alternative to Photoshop that offers considerable control over JPG compression settings.
3. Compress Your Images
Once you’ve chosen your tool, follow these steps:
- Upload your image: If using an online tool, upload your JPG file.
- Select compression settings: Choose the degree of quality you want to maintain.
- Download the optimized file: After compression, download your image and save it in your preferred location.
“Always keep a backup of the original image. This ensures you can revert if you’re unhappy with the compression results.”
4. Test Your Images
After compressing your images, check to see how they appear on your website or project. Ensure that the quality is acceptable and that the load times have improved.
Tips for Effective JPG Compression
To maximize the benefits of JPG compression, keep these tips in mind:
- Resize Before Compressing: If your original image dimensions are larger than necessary, consider resizing it before compression.
- Target a Balance: Aim for an optimal balance between file size and image quality to achieve the best results.
- Review Regularly: Periodically monitor and compress images across your website to keep loading times efficient.
Conclusion
In the realm of digital media, mastering JPG compression is an invaluable skill that can lead to improved website performance, user experience, and SEO results. By understanding the nuances of this process and utilizing the right tools, you can effectively manage your images while preserving their quality.
So, whether you’re a content creator, a small business owner, or just someone who loves to share images online, take a moment to explore the world of JPG compression. Start optimizing today, and watch as your visual content not only looks great but performs even better!
If you found this article helpful, consider sharing it with your network or exploring more of our resources for optimizing digital content.

